Monday, March 12, 2012

Everything in it's place

Hi there Bloglanders

I hope you had a fab weekend!  My week will be busy with lots to do for work, house, family (and playing with my toys).  Today I'm sharing a way to "file" all those bits and pieces that you want to keep (for yourself or your children) but you don't want a lot of boxes gathering dust in the garage.

I had a real struggle last year to get a system in place for all my scrapping, junk, mementos, diary, "record the year" and mini projects. In the end I came to the conclusion that less is more. Otherwise, I can't decide, is it a "date night" or a "December daily" or one for the main album.  Now it works like this - everything is for the main album as this is where my friends and  family go to see what's happening in my life.  The rest goes into an A5 Junk file sorted into months.

This doesn't mean I'm stopping to do mini's or cards - NO WAY!  But, the album is priority and from there I do the mini's to commemorate something special.

When I had to file the junk away that came from my mum moving house, I came upon a stack of old love letters which I wanted to include in my university album.  I made a huge, red envelope and filed them away with the pictures and stories that go with it.  (I even made the string clasp myself!)


The album I used, is by Creative Memories and I had to adapt my envelope to fit their hinged pages. For that I kept the left side of the envelope open and glued it to an album page.

As easy as that.

Hope I have given you a new idea.  Have a great Monday.

Friday, March 9, 2012

CPS Card and Part II Accorion mini

Hi there Bloglanders

Great!  It's finally Friday and I have my weekend list made. Only nice stuff. 

First up is my entry for this week's CPS card challenge.  Another set of cards for my Christmas pressie stash.


And the rest of the family:


You will see that the one on top looks different from the set.  I keep an example of every set for myself.  They get filed into A5 sleeves that are divided in 4 (buy it from my stationary shop, used for diaries).  I love looking at them! When my camera is out again, I'll take a picture to post.

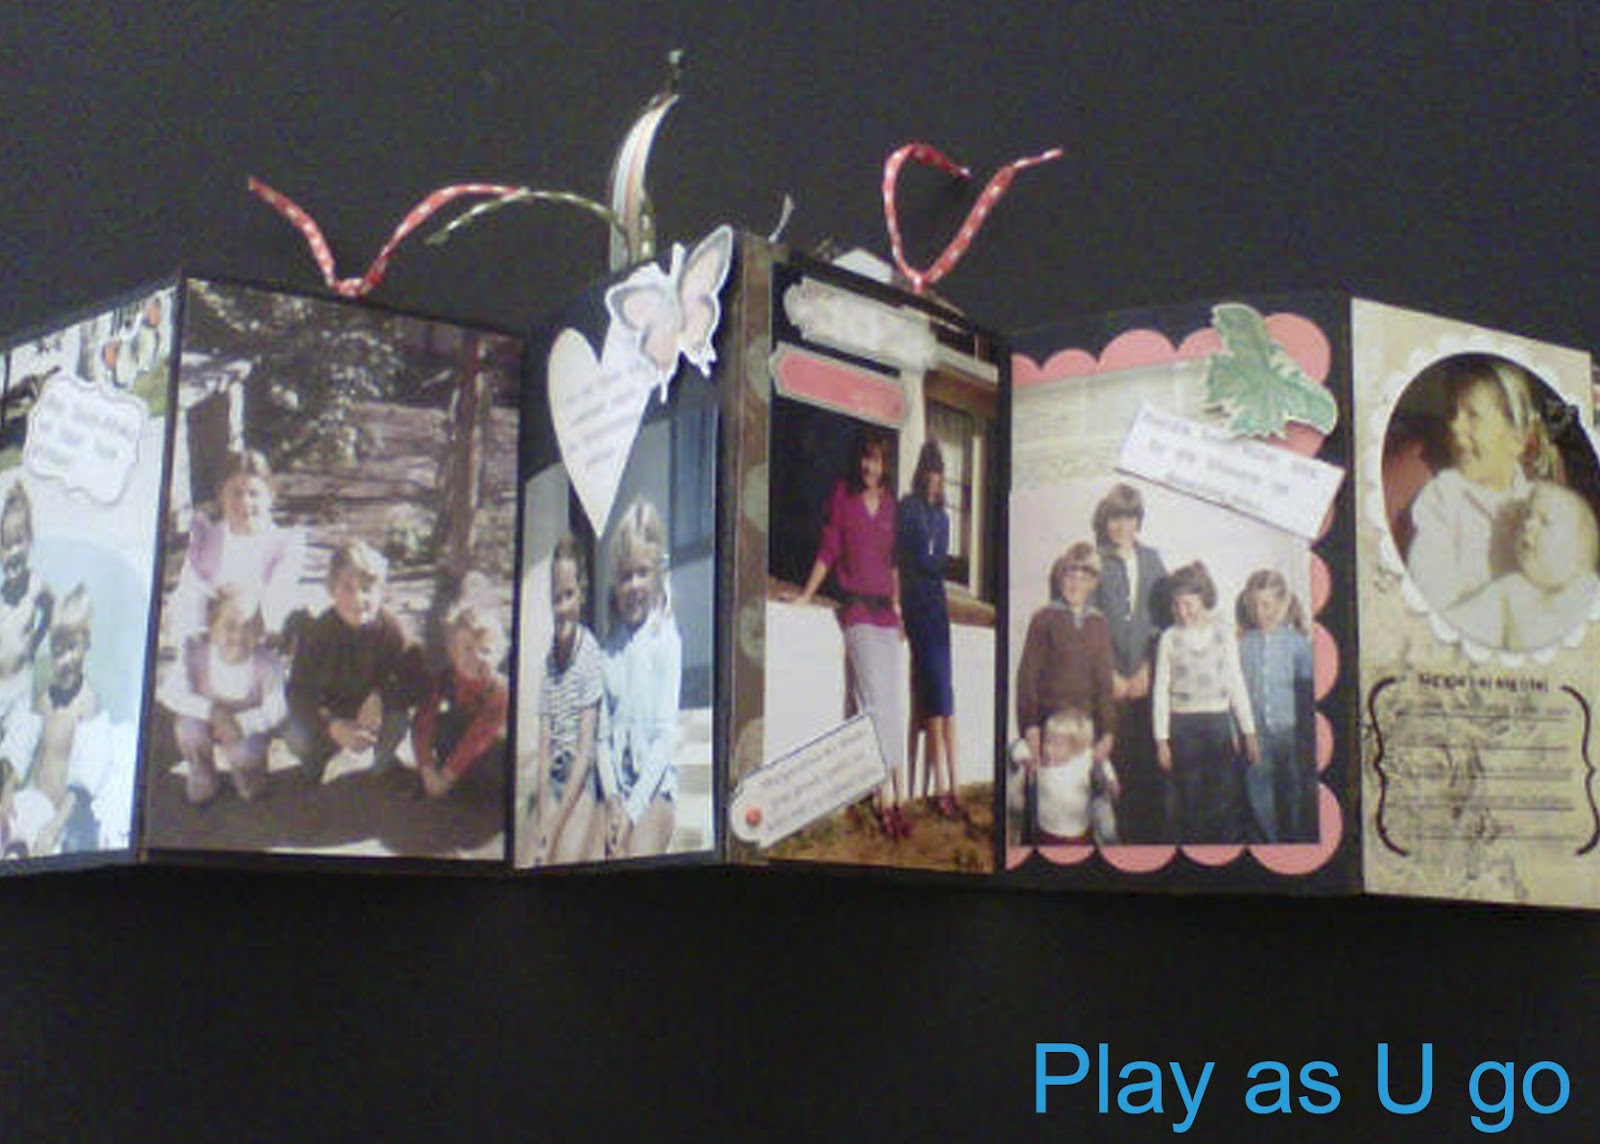
Now for my cousin's accordion mini album / maxi card.  If you missed yesterday's post, you can scroll down to see it. First up is the closed album with a picture of me holding my cousin some 40+ years ago.


Opened up: Back

And opened up: Front

That's it from me. Once again sorry about the quality of the pictures - I forgot to take them and then had to use my cellphone to capture it for you. Have a great weekend!


Thursday, March 8, 2012

Accordion mini album / maxi card part 1

Hi there Bloglanders

I'm not going to bore you with a lot of detail as I'll be sharing a tutorial as how I made this mini accordion album.  What's so nice about is, is that it stands up like a card so you can enjoy your pictures all year round.  I first made the London one in 2009 and recently  ones for my cousin and sister.


I told you that my mum dumped all her unwanted stuff on me when she downscaled recently and amongst other things, I inherited a stack of pictures of my cousin. Rather than trow it away I converted it into a mini album which my cousin enjoys immensely.

Once again, I forgot to take pictures of the one I gave to my sister and only took cellphone pic's of my cousin's.  I know I say that all the time, but I'm sorry about the poor picture quality.

I'll post the London Pictures today and tomorrow you can see what the other one looked like. First up, the front.  Nice tabs on the side and tied with a ribbon.


On the inside, I cut out half circles and inserted tags to include more pictures and journaling.


And this is what the tags look like.


Hope you loved this as much as I did making it. Have a wonderful Thursday and I'll be expecting you back to play with my cousin's accordion mini.

Wednesday, March 7, 2012

Christmas layout

Hi there Bloglanders


Yesterday I told you that I tend to forget to do layouts if I don't offload the pictures immediately and print them as well.  That is exactly what happened to me last week.  I was reading Monika Wright's post about her holiday decor and it struck me like lightning - I haven't done a Christmas 2011 layout!  I did the whole December Daily thing where I recorded all the month's activities and I took a lot of photos as well. It just didn't get into my album. I'm glad to report that I fixed it.

I've read somewhere - "I don't remember that's why I scrap".  If any of you Bloglanders out there knows whose quote it is, please let me know and I'll give credit for using it.  Anyway, that's me!

That's it from me. I'm off to do some sewing but I'll be back tomorrow to play. Have a wonderful Wednesday.

Tuesday, March 6, 2012

Record the month

Hi there Bloglanders

Everything is about the same here in sunny South Africa - wonderful, warm, sunshine days and not enough hours in a day to do everything. I'm scared that if things are this hectic I'll forget to record what happened. (and I do!!!)


As I don't like taking my camera with, I decided to join a challenge about it this year. (Yeah, me and my challenges) Hop over and read all about it here.  Now for my twist - I print out the list and stick it in my diary where I see it every day.  That way if I see a photo opportunity, I use it, put all the pictures in a monthly file and at the end of the month I make a layout out of it and put it in my album - month recorded, more pictures taken and (adapted) challenge met.

I actually stumbled upon the idea by accident.  I hate doing things on a daily basis (boring!) but I really tried to keep up since the beginning of this year.  Then I came to the prompt "blue" and I just couldn't find anything blue in my February 13th.  (Being a type A person, I nearly committed suicide) BUT when I went through my February file of pictures I came upon a picture of my son and his girlfriend eating fire balls with their mouths all blue!!!  Problem solved. I'm sure nobody will even notice that I took 11 pictures in February and not 29.

This was supposed to be Monday's post but I just didn't get to it.  Anyway, I hope you enjoy it all the same. Please come back to play.

Sunday, March 4, 2012

Mini Monday

Hi there Bloglanders

I'm back with a mini book I made last year after Monika Wright did a tutorial on her five senses at Write.Click.Scrapbook.  If you want to get enthusiastic and finish a project quickly - join in the fun of a challenge. In the end you will have a wonderful book / layout / card that can go towards your Christmas pressie stash or in your "year in my life folder". (or if you're like me a box file) Monika also shared free printables where you can just add pictures. At WCS it is March Mini madness. Hop over there and get inspired.

Of course, my five senses is in Afrikaans but for those of you who don't know  -
TASTE = PROE
SEE = SIEN
FEEL = VOEL
HEAR = HOOR
SMELL = RUIK
Easy peasy, now you know all five your senses in Afrikaans!

Here is a picture of my page layouts:


And my front and back pages:

I laminated the front and back pages as I used a very old paper pad for this mini.

And now for the twist (didn't I tell you that I do my things MY WAY?). As I got a Zutter binder for my birthday, I couldn't wait to try it out. Therefor, I folded pieces of cardstock over the spines of 6x6 postbound page protectors (left over from another project) and sewed it in place.

Here you can see what it looked like.  Look closely, there  is actually a page protector in front on the left.


And now for the newly acquired Zutter. I just love this little machine! Thanks mom!


And here is the finished product with its light blue ring binder:


While at it, I made an extra one with more generic pictures but without the journaling.  I gave it to a friend in need who used it to focus on the things she already has and not on what she doesn't have.

That's it from me!  Happy mini Monday and get into a challenge - you may learn something.

Thursday, March 1, 2012

Fridge magnets part 2

Hi there Bloglanders

I'm so glad you're back to play.  Today I wanted to show you my mom's album but due to public demand I'm showing you exactly how I made the fridge magnets.  You see, I get bored very easily and normally I try to figure out stuff myself.  (keeps my hands and brain busy)  I drive my friend nuts as I don't use Permalinks on Pinterest because all I'm interested in is the idea. To my family's horror I will add my own twist as well! After yesterday's post I will think twice about it next time I pin something as there are bloglanders out there who want to see more detail.

No problem, I'll make sure that I take more pictures next time I make something and add measurements where needed. (and a Permalink!! - for Sandra)

Those of you who missed yesterday's post click here for the picture of the fridge magnets.
Here is a picture of all the shapes I punched / cut out.  I only used scraps and tools that I already have.


A scalloped circle with a hole for the front, a piece of transparency, another circle out of thick carton and a circle for the backing.


I just glued all the layers together - the scalloped circle, the transparency and the cardboard circle.


Added beads and glued it shut with the solid circle.


I added a piece of self adhesive magnetic strip to the back and glossy accents to the front. The one I did for this tutorial doesn't have the glossy accents as it would have taken too long to dry but I'll be adding it over the weekend.  It does make it look professional.

And here is the new one playing with its mates on my freezer door!


If you need more info, please leave me a comment and I'll get back to you. Thank you for coming to play.