Showing posts with label Key holder. Show all posts

Sunday, July 28, 2013

The Latest News

Hi there Bloglanders

I'm on my way to the West Coast for a few days but wanted to give you a quick update before I go. First of all, I've done my dining room curtains!  Totally HATE doing curtains - so un-"creative". I'm over at Craft Storage Ideas with my take on "travelling with your crafts". Hop over there and see for yourself. Just click here. This is my firm fave:

A few months ago Wynand and I went to a resort in the Cederberg.  In all the rooms were little art kits.  It was one of the best ideas that I've seen in a long, long time!

And I've been inspired by the color combo from The Play Date Cafe. Here is my contribution:
This is a mini, mini notepad.  I made a cover of hounds tooth fabric and added a keyring.  It's really small and I plan to put it in my purse - I'm a notebook kind of person. Always scribbling away with ideas, websites and contact details. Now my house keys, USB drive, notepad, miniature torch and pen are all in one place and easy to find. 

And the color combo from The Play Date Cafe:


Black and White with a splash of Neon Yellow (yes!  The inspiration board looks more like green but that's artistic freedom!)

Now, I'm off. I'll be back on Tuesday.  In the meantime, have a great time and please come back to play at Play as U Go!


Friday, February 22, 2013

DIY Key holder with Twine Balls


Hi there Bloglanders

Finally it's Friday and time to kick up your heels and do something special for yourself!  As promised, I'm sharing my contribution for The Play Date Cafe color challenge of the week. Some more Twine balls:


This time I decorated my keyring with Twine balls and a tassel.  And it was so easy to make - all the things I used came from my stash. As always, I used Twine from The Twinery. Here is the color combo from The Play Date Cafe that inspired me:


And now for those of you who read yesterday's post where I made twine balls for a necklace - I promised to share with you how I did it.  Here it is"


See - nothing special! You just have to take a new look at old things in your stash.  

That's it from me. I'll be back to share more of my crafting fun with you right here on Play as U Go. Thanks for visiting and please come back.


Thursday, October 25, 2012

Keys to my Castle

Good  morning Bloglanders

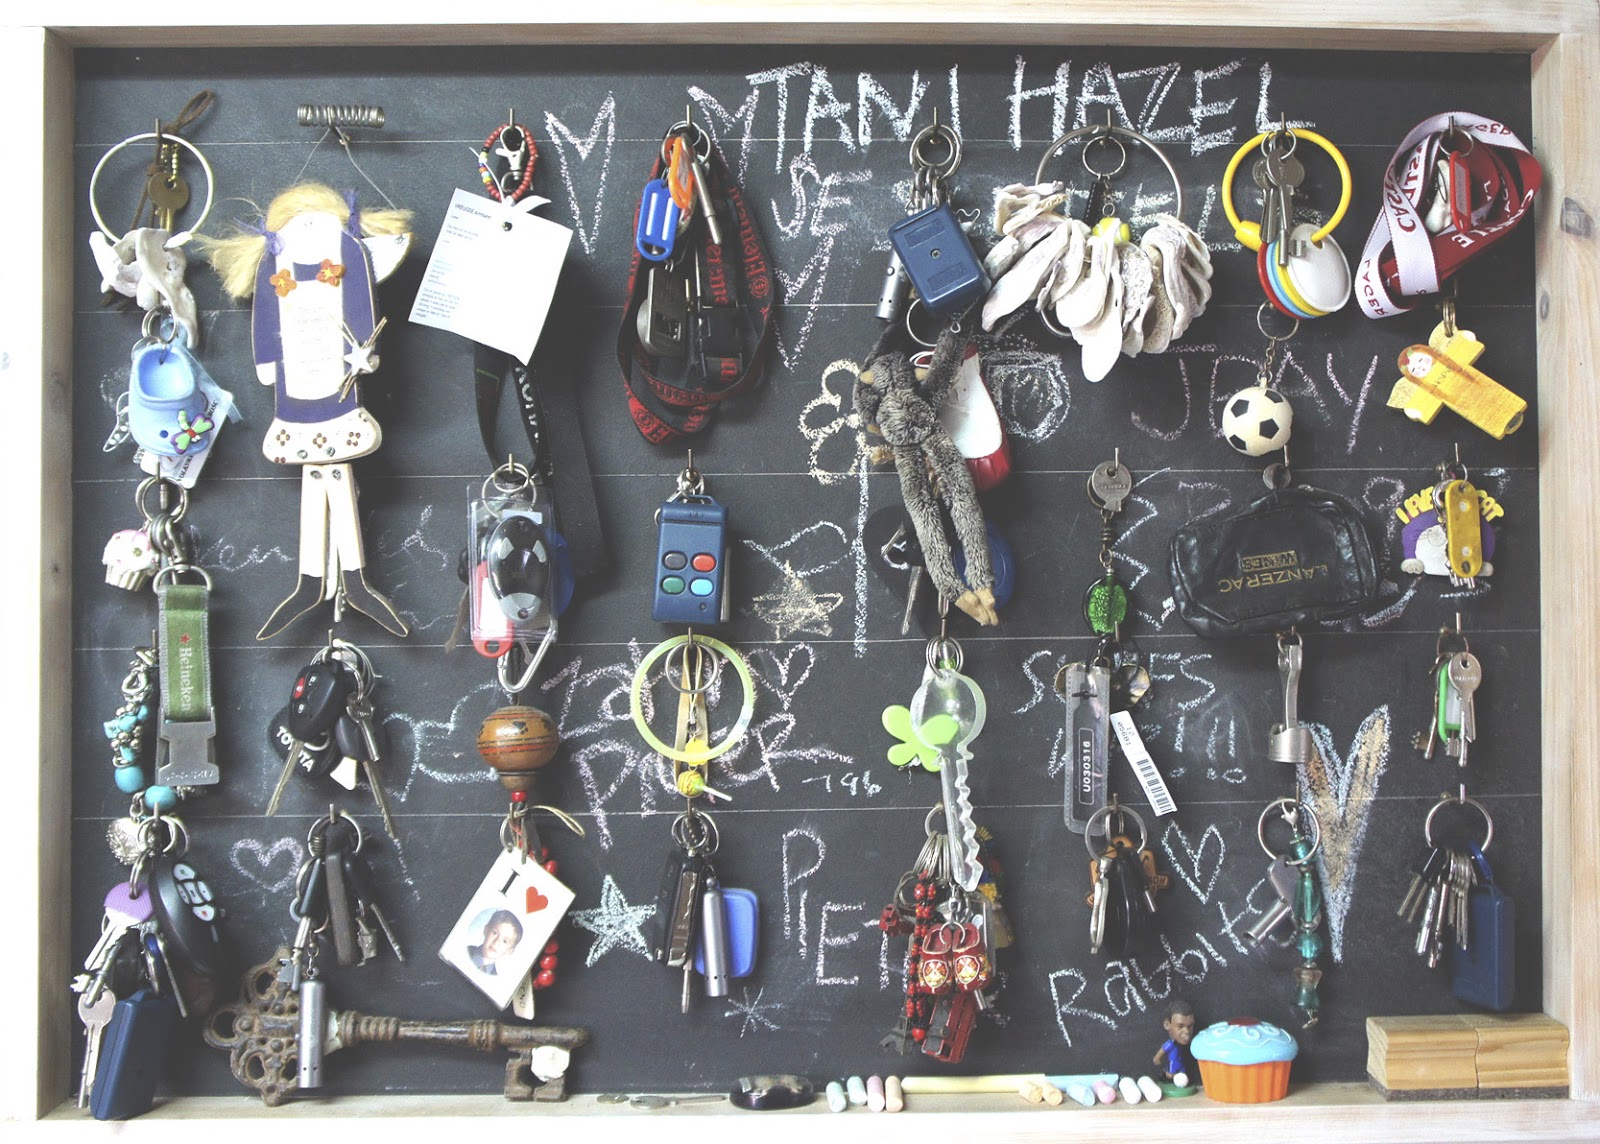
One more day and it's weekend.  More time for fun and family!  In my house I've got a few things of huge value to me.  They are not expensive - BUT I just love looking at them.  One of these is my key holder that my hubby made.  Now, you must remember - our house has 17 outside doors. Each and every one has a key to the door as well as one to open up the trellidoor inside.  Both the boys live in flats - all with their own set of keys (and spares that hangs on my board).

Now that you have the background info, this is what my key holder looks like:


It actually fits over our power supply board and my husband made it rather deep - if you have to take it off to get to the switches underneath, you just flip it up.  Apart from the keys, the children write messages on the blackboard underneath and I add sentimental stuff.  You will see a rattle from my son's baby days, angels that friends have given me, sea shells on binder rings etc. The keys are not marked but because each and every one has a different key ring, the whole family knows which one fits where.

That's it - one of my prized possessions!  Have a great Thursday and please come back to play as I'll be sharing some more crafting fun right here on Play as U Go.