Showing posts with label craft storage. Show all posts

Monday, March 23, 2015

Craft Storage Ideas Planner Blog Hop


Hello to all my regular Blogland readers as well as my special guests today – the ones visiting for the Craft Storage Ideas Planner Blog Hop. Thanks for Hopping along. You should have come from Amanda Corbet’sblog.

We are so excited to share some great ideas for keeping your planner both organized and fun along the way. But first, I want to share some FANTASTIC PRIZES we will be sharing with lucky commenters along the route!

·        TWO winners will receive 50$ Gift Certificates from OrganizeMore to pick out your fave organizer!
·        One winner will receive the following 3 stamp sets from V’s Sweet Ideas:
·        One winner will receive the Scheduled stamp set from The Ton Stamps!
·        One winner will receive a collection of planner stickers from MareBear Crafts on etsy!

To win, simply comment at each stop along the way. You do not have to comment on every stop to win, but it sure increases your chances! Also, we are sorry, but winners must live in the United States, as international shipping is just too pricey.

And now for my Planner Story. Get some coffee and away we hop!!

I’m not new to Planner Planet – I’ve been keeping a planner while at school, university, raising the boys (in those days we called them diaries!) and even now I can't live without it.

I note “to do’s”, events, menus, interesting facts, things that happened, quotes, inspiration and motivation.. My planners are like mini scrapbook journals and I can report back on things that happened 20+ years ago. Here you can see my Planner stash from the past 5 years.


 I have a very, very old Planner cover and my inserts are the cheapest A6 page-a-day that’s available. My motto is not to spend ANY money on Planner goodies and to keep what I use most on my desk neatly filed away.  I use photos, paper scraps, washi, paint, stamps, die cuts, stencils,  Sticky notes, pens and highlighters for my planner pages. Want a peek inside?


Mostly my pages are representative of what is currently on my craft desk / happening in my life and once the year is over, I file my pages away in a handmade, creative cover and a brand new year goes into the Planner cover.

Enough of my planner as I came here today to show you how I keep my planner goodies on hand.  Let me show you the outside of my planner goodie file: 

It’s a very, very old A5 file that I covered with hand dyed scraps left from this project. On the front I have “GENIET” (= ENJOY in English) – that’s my little word for the year and I like to remind myself not to take life so seriously.

Let’s start with my inside cover pages. The front has pens, highlighters,a ruler and a paint brush. The back has a slot for a notebook and inside the front and back covers, I stash some journaling cards, watercolor paper and additional notes and stickers.


 Now we are getting to my Planner stash:

STICKERS

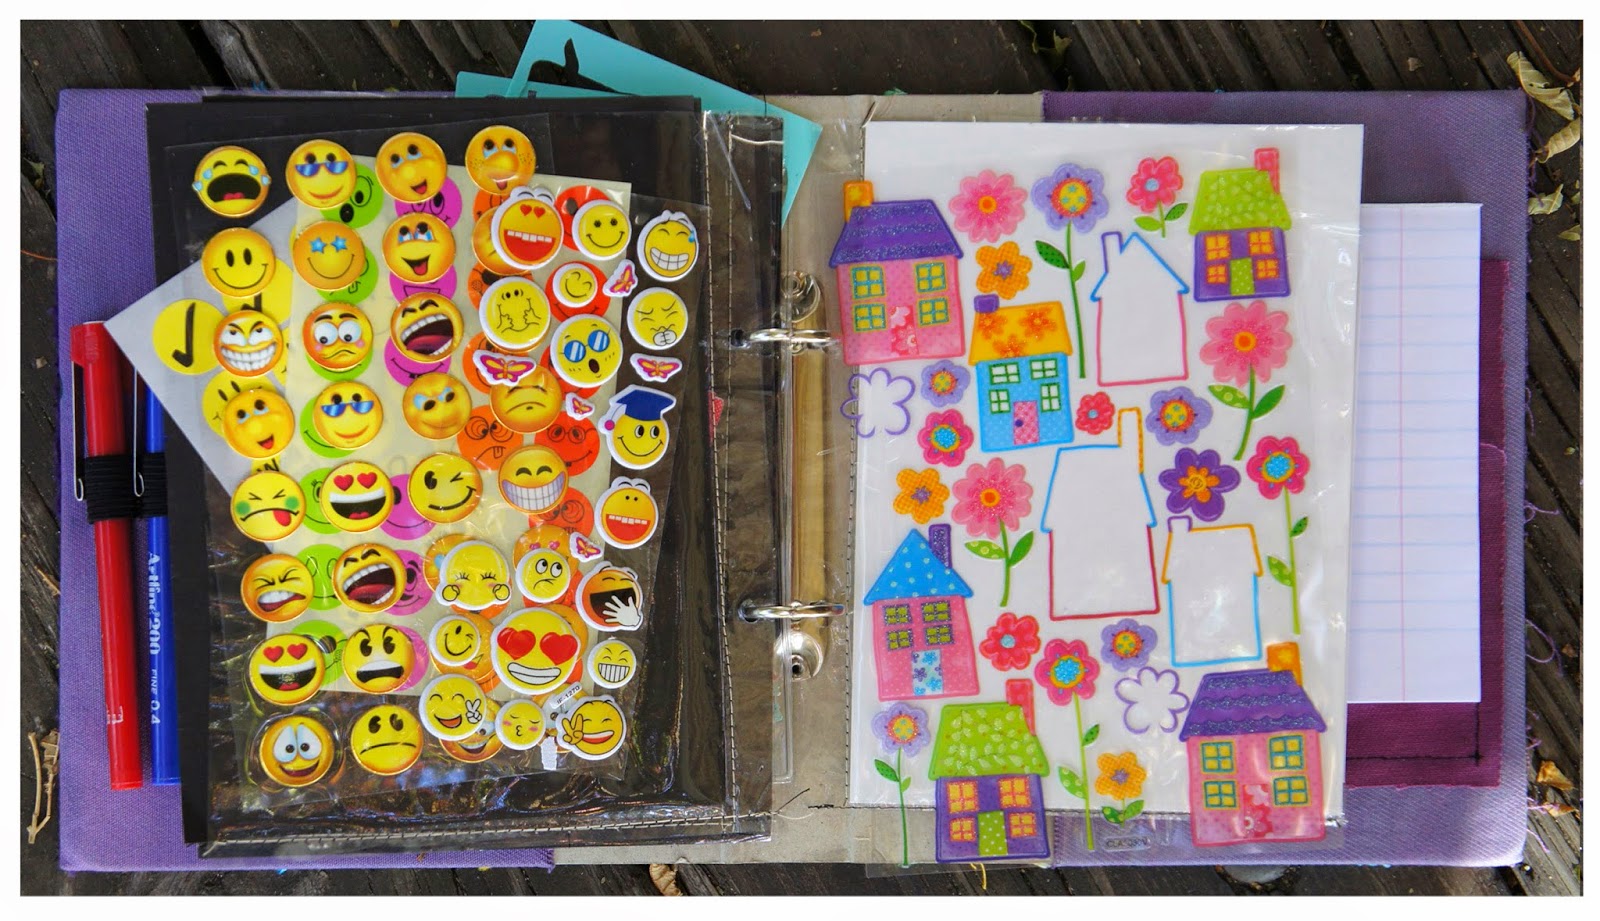
Just bits and bobs from my stash that I love to have on hand. I made the “page protectors” by stitching book cover plastic onto cardstock and punching holes for the binder rings. I’ll put up a post next week to show you exactly “how” to.

DIE CUTS
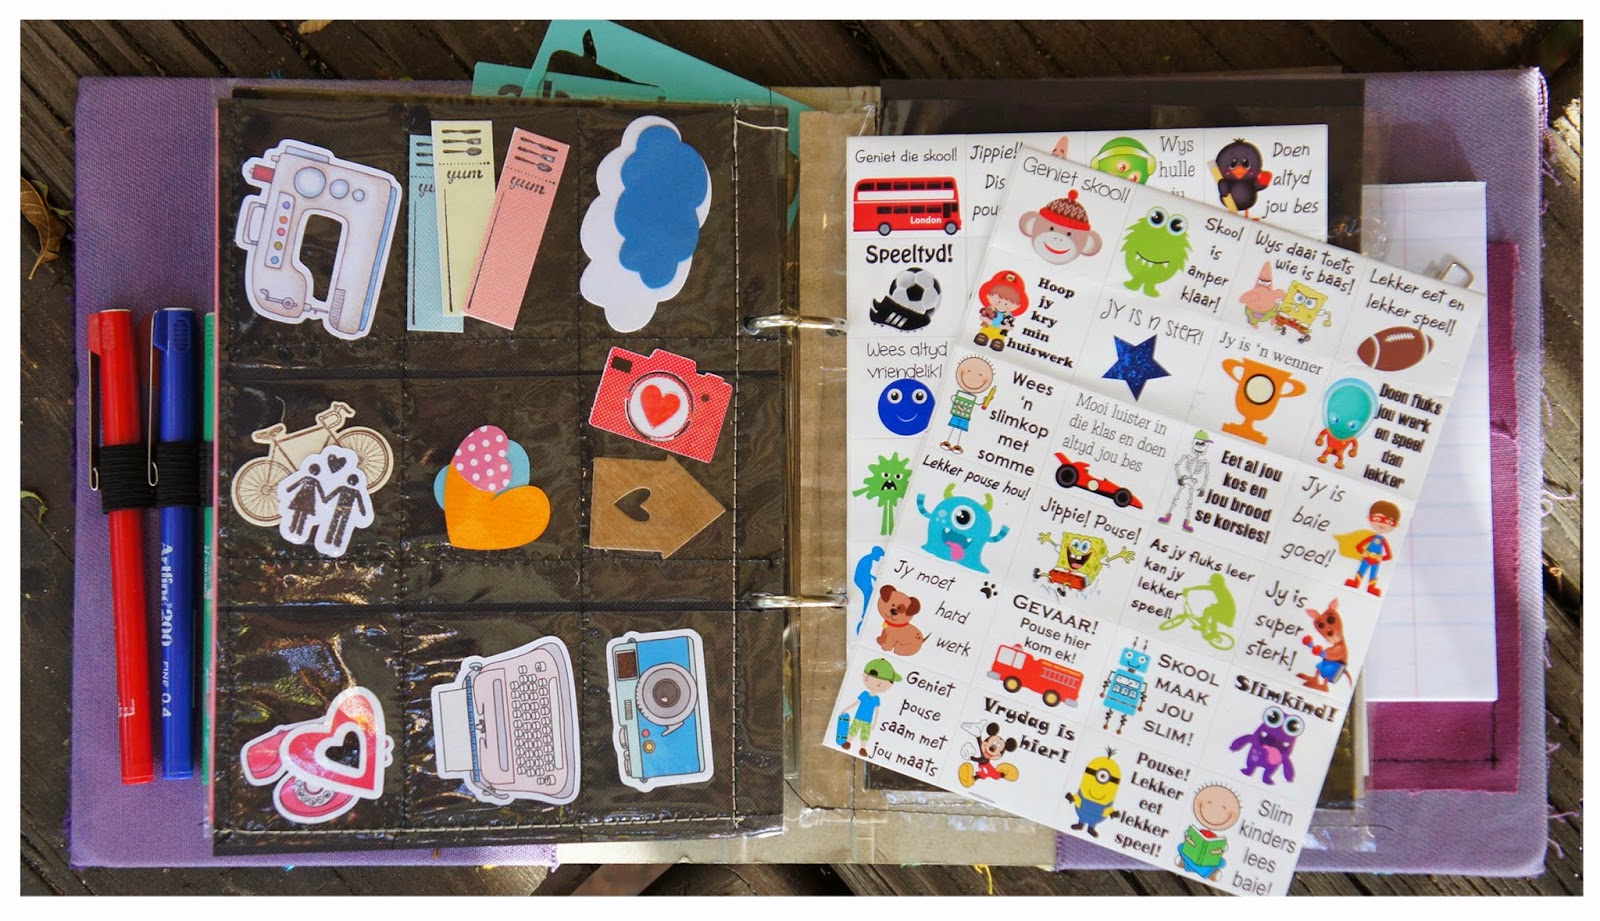
Mostly leftovers from my craft desk.
  

PAPERCLIPS
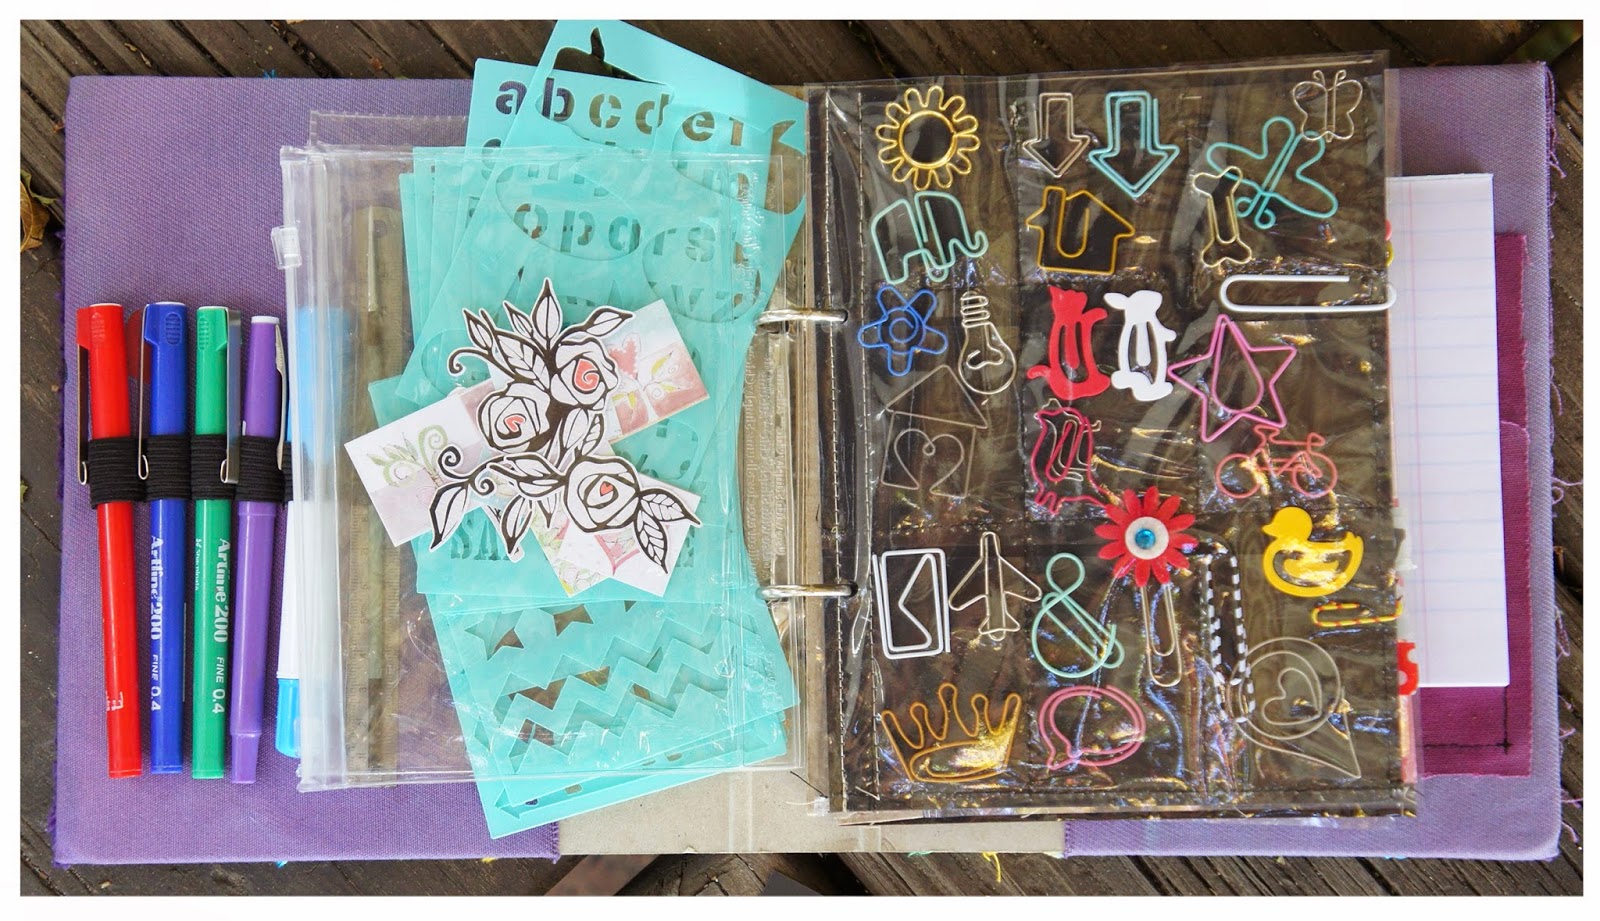
Once again, a handmade “page protector” filled with paperclips from my stash. I love to use them in my planner, on "emergency cards" and in my Planner file.

 STAMPS

I have only one set of planner stamps and an alpha set in my Planner File.  I do love the little wooden alpha set that I bought locally and use them A LOT as I despise my own handwriting! They are kept in a small plastic zipper bag that I recycled from somewhere. The original alpha set came in a little wooden box but I opted for a gift card tin as it's much slimmer and fits into the zipper bag with the planner stamp set.

STICKY NOTES 
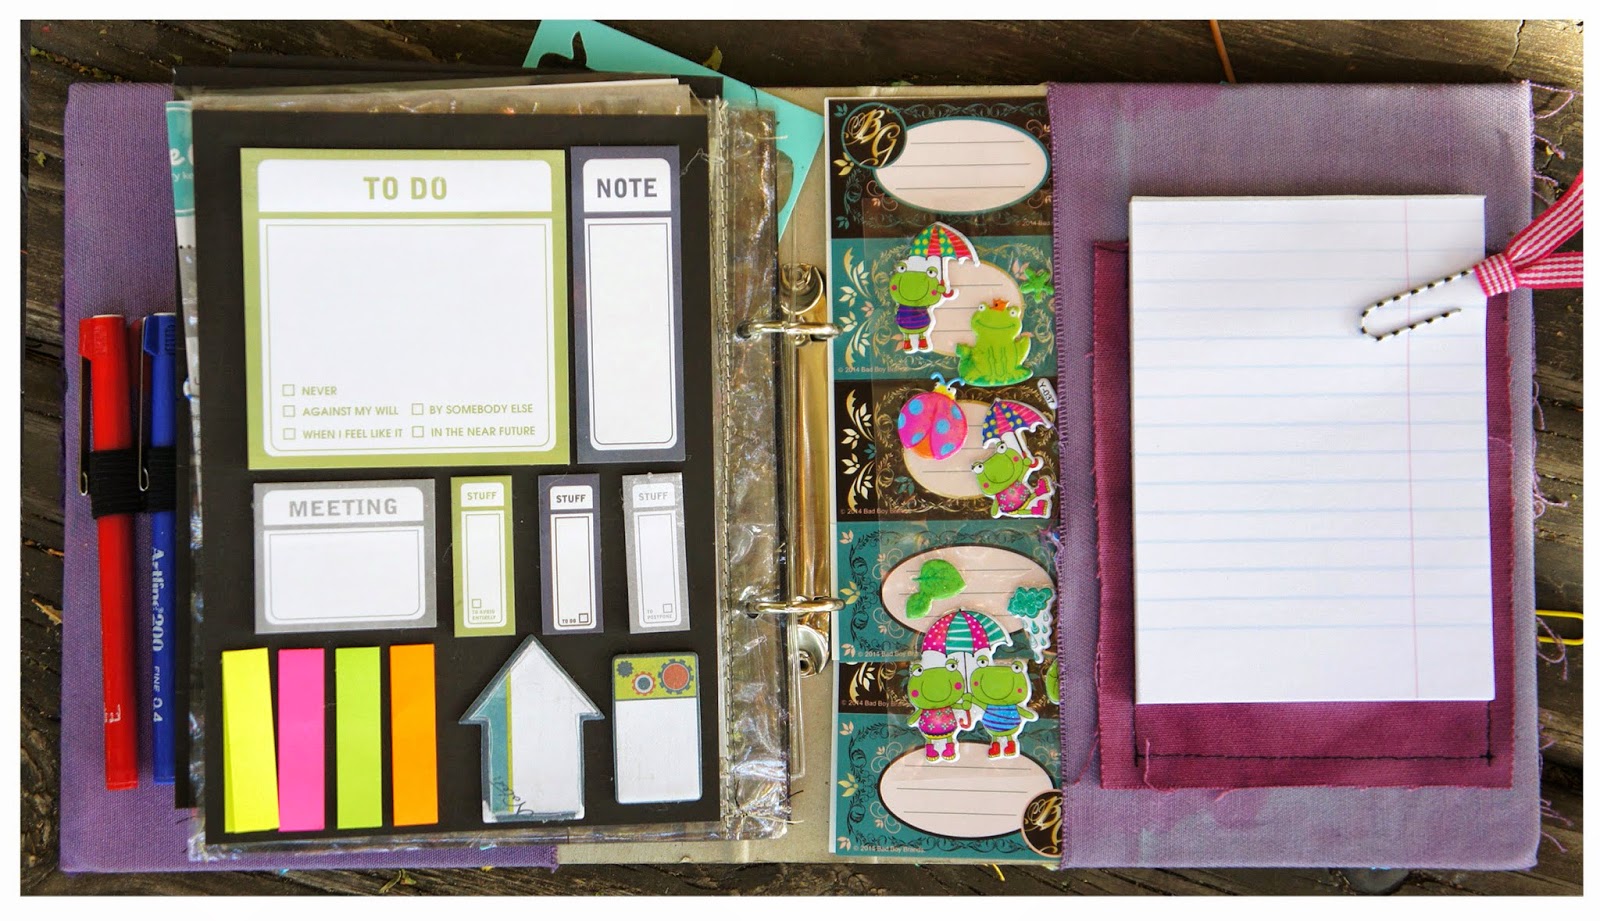
I gathered them from all over – the office, my craft stash and even swopped some with family and friends. Only 20 pages of each variant go into the file - the rest stays where they are. If you add more, the file becomes too bulky.
  

WASHI
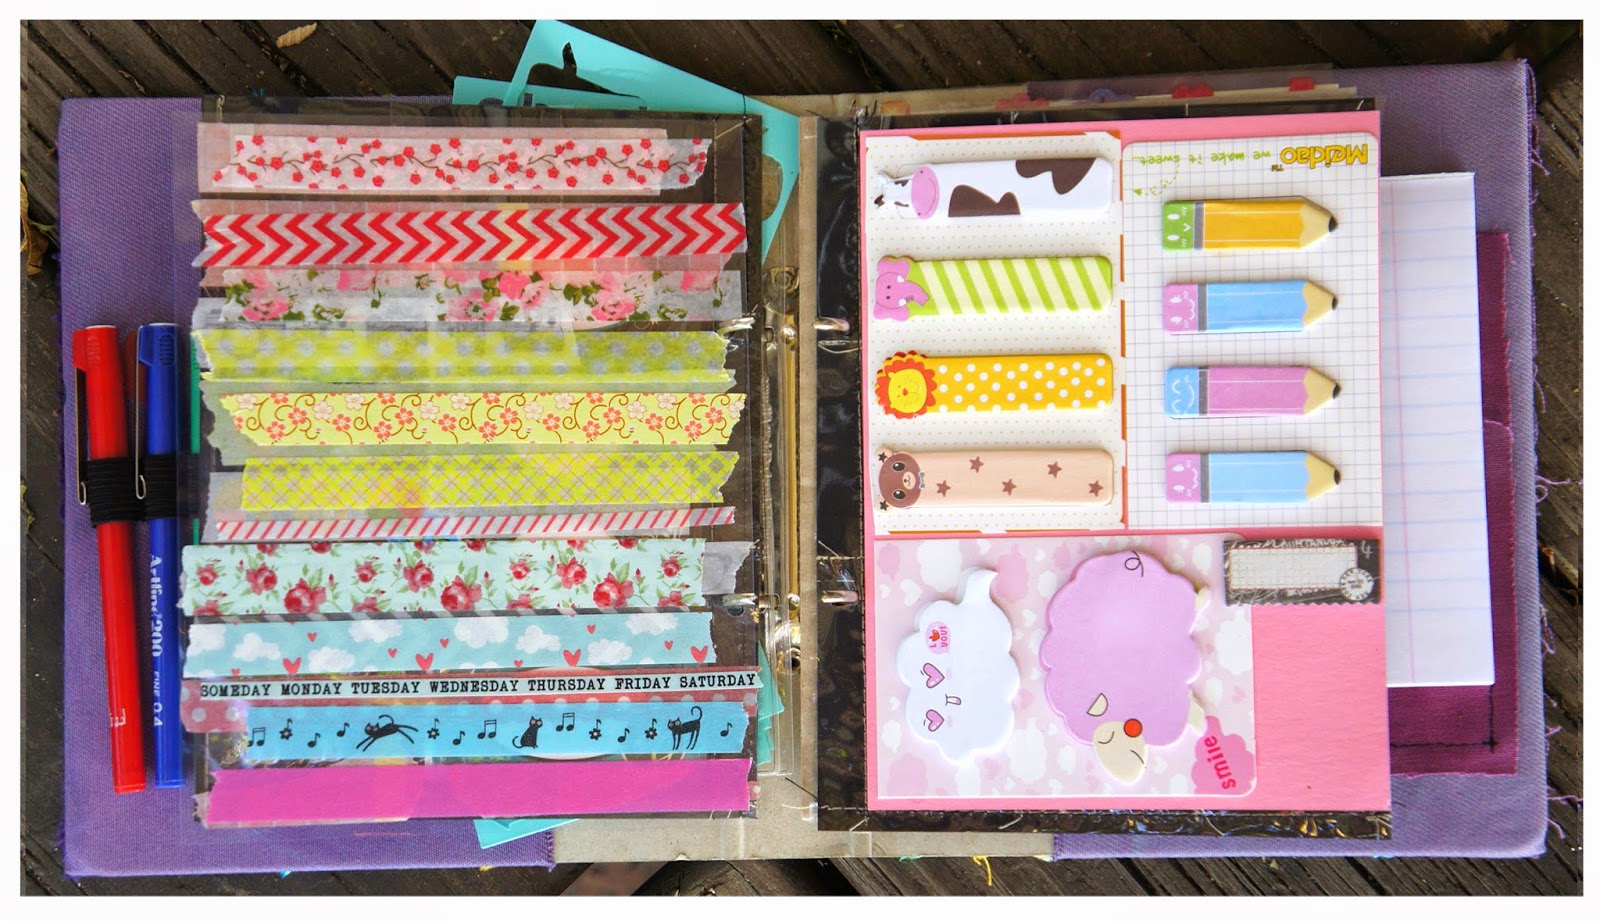
I love to use Washi and what better way to make “flip-up’s”/ reinforce binder holes / divide pages?? I have an A5 acetate sheet and I just add strips of washi to it. Easy Peasy!!

STENCILS
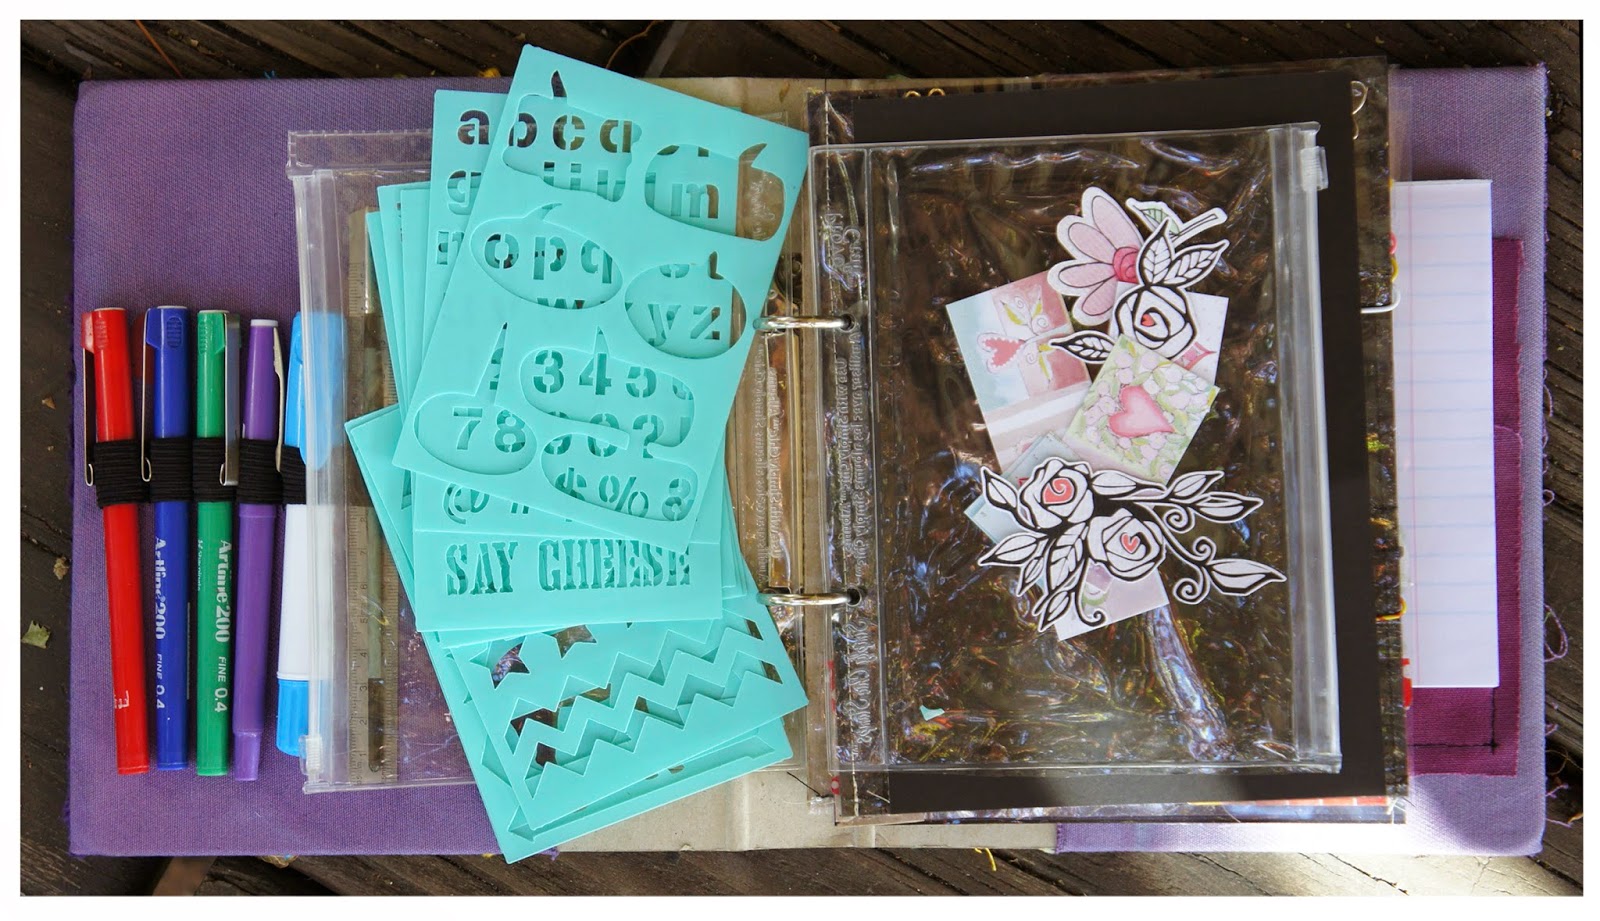
A mini stencil set in another of the recycled plastic zipper bags.

STATIONARY
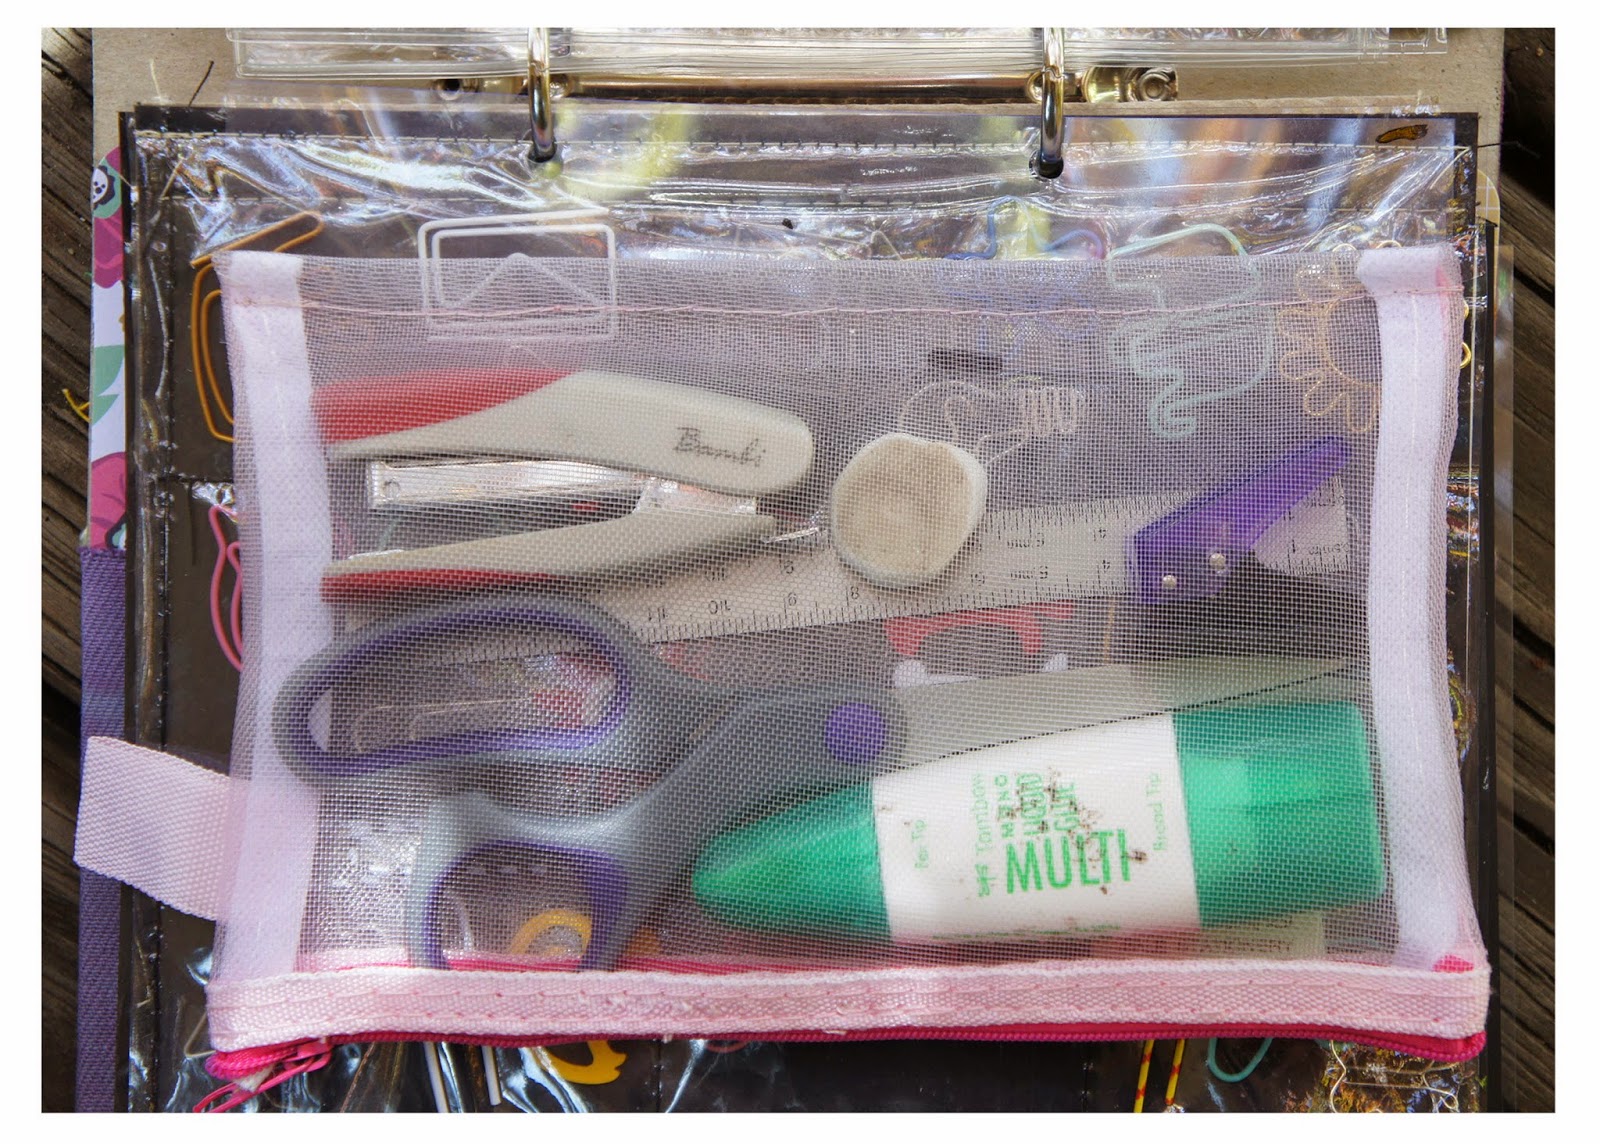
Wherever I go, my planner and Planner File goes and so does some stationary. I’ve sewn a spine onto a fabric pencil case and it goes into the file with the rest of my Planner goodies. In here are scissors, glue, a ruler, a hole punch (from a Christmas cracker!) and a small stapler. I have a similar bag for paint goodies.  What better than to paint / draw / write a bit when you have time on hand? Sorry, I forgot to take a picture of it!!
  
That’s it – my Planner File for keeping everything that I need and use together, neat and out of the way while at home / traveling. If you have other systems for storing your planner goodies, let me know in the comments and one of you could win a digital set of planner stickers by AlexScissorhands.


As this is a Digital File, my freebie is available to everyone. YES, even you down under are welcome to enter!!

You are welcome to play along on Instagram. Just tag your Planner Pics with #plannerplanet and your storage ideas and solutions with #craftstorageideasblog. We would love to see and hear what you do!!

Thanks so much for stopping by! Have fun, get Planning and remember to try something new. Next on the Hop is Jessica Frost-Ballas’s blog.


Monday, May 27, 2013

Drawers converted to shelves - The Craft Closet

Hi there Bloglanders

I hope you are having a Marvellous Monday and that you had a lot of quality time with your loved ones over the weekend.  Today I'm sharing the drawers that I converted into shelves for my Craft Closet.

I don't have a lot of wall space in my Craft area and therefore were on the lookout for some shallow shelves for some time.  I was looking for something similar to the Recollections Craft Accessory Organizer, but couldn't find anything in Sunny SA. So, when my father's desk from days gone by got shortened to become a dressing table in my parent's flatlet, I grabbed them.

My husband added a shelf to the middle: 

And up they went. Girlfriend #2 (the interior designer) wanted them unpainted but after a week of looking at their dark and dingy form, out came my ice cream paints.  I left the front and handles unaltered and painted the insides in a mauve purple.


Now all the glass jars are on my shelves as well as my patchwork fabric stash. OH, AND my Washi tapes in a recycled chocolate holder!  I love the bright colors and I can see exactly what I have at a glance. I use these drawers at craft fairs - just take them off the wall, use and back up afterwards. As easy as that.

I'm so chuffed at how it turned out.  The best part is that I used something that would otherwise have been thrown away.  If you missed out on my Craft Closet info, just click on the small link under Play As U Go on top of my post or here and you will be redirected.

I hope you enjoyed my take on the drawer conversion. I'll be back tomorrow to share some more crafting fun right here on Play as U Go. Have a great Monday and thanks for visiting my blog.


Thursday, May 23, 2013

Craft Closet - A Desk with a story

Good morning Bloglanders

I hope you are having a Thunderous Thursday!  Today all will be revealed about my Craft Closet over at Craft Storage Ideas. If you want to see - please click here. As promised - today I'm sharing my "desk story".

Can you believe that I actually have two of them in my very small Craft Closet!  One for "crafting" and the other one for my sewing. Ta-da!!!

My husband originally made them as changing tables for Pieter's nursery many, many moons ago.  Then they became desks in Wynand's home office and now they they are all mine.  This is what they looked like before they got the "ice cream treatment".


What I love about my desks are that Wynand added shelves underneath. On these I keep my current sewing project as well as a craft project and my week's PL page.  When I work on them, I take it out and then it goes back - my desk stays clear of clutter and always ready for something new. Also, when I have a few moments to spare, I have something at hand to do. For me, gathering all the goodies, takes up most of my crafting time - this way I get that done first and then sit back and craft on when I get the time.

I've added a funky green arrow to show you where the shelves are:

And my pride and joy - my "desk bags".  I've made them about 5 years ago and they really, really work.  All the odd shaped items go in here as well as the ones you need to reach for while crafting but don't want on top of your desk. It is sort of sewing on the one side and paper crafting on the other. I think I'll do a desk bag tutorial some time - I used the same principal on the trolley covers that I've made. The fabric is ordinary, white sheeting - I take them off and wash them in my washing machine.  They have Velcro on top and I've put Velcro on the underside of my desk's "overhang" with a staple gun. You wouldn't believe how heavy they are. Between the desk bag and the actual desk, goes my cutting mats - I never know where to put them - perfect solution!

In these pictures you can also see that I put a cover over my craft desk.  I've used white sheeting for this as well and it works like a fitted sheet.  After having to scrub away glue from my desktop many, many times, I came upon this brilliant idea.  I have two and if they are dirty, I just wash them in the washing machine. Most glue, paint and even ink wash out and even if it sticks, I'd rather have it on the cover and not on the desk.  I've had my cover for the past 2 years and as you can see they still look relatively neat and my desktop is perfectly clean and glue free.

That's it!  Thank you for visiting my Blog and for reading my post over at Craft Storage Ideas. Please come back to play as I have lots and lots more to share right here on Play as U Go.

If you have missed some of the Craft Closet posts - there is a (small) link just under the Play as U Go logo on top of my post or you can just click here to be redirected.

Have a wonderful day! 


Sunday, May 19, 2013

Crate Conversion to Trolleys

Hi there Bloglanders

My second post for the day!!  This is part of my series of posts on my Craft Closet.  The whole story will be revealed over at Craft Storage Ideas on Thursday the 23rd of May.  I'll insert the link once it is published.  If you want to get the rest of the inside info, you can check back to my previous post. (just scroll down or click here)

My inspiration for this actually came from this post that I did for Craft Storage Ideas. I had all these wooden crates that we used in the winery and decided to turn them into trolleys for my Craft Closet. This is what they look like now:

When you walk into my Craft Closet, I have 3 of them lined up against the wall on the right.  I wheel them around the house and fitted other wooden boxes and plastic tubs into their cubbies for my supplies and scraps.  Also, I made bags with pockets to cover them.  In these I put supplies that I need when I craft in the Craft Closet or elsewhere.  In this picture you can see that I've slipped magnetic sheets into the pockets and now all my Spellbinder nestability dies stick to the outside of the pockets. I can see at a glance what I have and what I want to use.

And this is what we did. Actually, I said how and my husband DID:

The "before" picture of the crate:

Wynand tied them together with cable ties and added wheels.  They are VERY sturdy and will hold a heavy die cut machine.  I wanted the cable ties as you never know - maybe they will be reincarnated into something else along the line. With IMPERFECT ME you never know.

I gave them a splash of white paint and added fabric jackets. Here you can see what the finished trolley looks like:

And the Cuttlebug plates fit into the back pockets:

When I sew, I use them lined up against the wall as I like to have an open floor and lots of space to put my pins, measuring tape, patterns and notebooks right next to my sewing machines. If I craft, they get wheeled next to my desk and I put my paper cutter or die cut machine on top.  I like to have my desk uncluttered to work on.

And another picture:

That's it. Thanks for looking at my Blog. Tomorrow I'll have to get my office work done but I'll be back with some more crafting fun just for you. Have a Marvellous Monday!


Monday, April 29, 2013

PVC Drawer Organizers @ Craft Storage Ideas

Good morning Bloglanders

I hope you had a wonderful weekend and that you are well rested and ready for week 18!  I'm working on my house - painting, sewing curtains, cleaning out drawers and purging what is not needed.  I can't believe how much less space you need when the kids are out of the house.  Not that they take anything with and that you are allowed to throw their stuff out - no, no, no!! I've packed everything into storage containers and moved it to the garage. (don't know if we'll ever get that sorted)

The plan is to arrive on their doorsteps (with the truckload of "stuff") once they have settled into their own homes. I hope they are not reading my blog today!!

I'm over at Craft Storage Ideas with my idea of using ordinary, clear PVC drawer organizers to sort your crafting stash.  I buy a lot of them and use them all over the house but I'm not spoiling the surprise - hop over there and see for yourself. Just click here. And a sneak peek just for you:


That's it from me. Thanks for visiting my Blog and please check back as I'll be sharing some more crafting fun right here. Have a great day!


Wednesday, April 10, 2013

The Playhouse @ Craft Storage Ideas

Hi there Bloglanders

Today I'm over at Craft Storage Ideas to show what Darnell did with a garden shed. Want a peek?


And some of the storage solutions inside:

It is calm, serene, beautifully organized and I love it (and so would you), Just click here to hop over and see. There's a lot more pictures and links. While you are there, leave a comment.  I would love to hear what you think of Darnell's Playhouse.

That's it from me. Thanks for visiting my Blog and I'll see you over at Craft Storage Ideas. Have a great day and please come back to play.


Thursday, April 4, 2013

I did it .................. My Way: Travel Tote

Hi there Bloglanders

And as promised: The Big Brother:

You still remember this one that I've made???? 


The mini version. If you missed it,  just click here to share in the fun. Well, I needed a bigger one for bigger things! And that is why I made the Big Brother.  I've been using it since January and this is what I've done with it:

Whenever I travel, I take this with:


And to zuss that boring outfit up:


And if I will be scrapping:


Even cutlery to camp or picnic:


This tote closes with Velcro and therefore I have two strips at the back when it is opened up.  I've added a strip to my suitcase, to my cupboard door and to our camping table. When I want the stuff out, I unroll the tote, stick it onto the Velcro and it is visible and ready to use at a glance.

Once again, I've used Ziplock bags as I wanted something clear and cheap. The size isn't custom - just bought what's available and trimmed them to fit my tote. Easy Peasy!

That's a wrap!  Something I've made to suit my needs and lifestyle.  I hope you enjoyed my solution to travelling light and in style.  Have a Terrific Thursday and please come back to play.