Showing posts with label die cut. Show all posts

Sunday, June 12, 2016

Giftwrap Summer Garden Notebook

Hello Bloglanders

Happy Sunday to you all!!

Today I have a covered notebook to share:


Even though it's winter down under in Sunny SA, I got so inspired with the SimonSaysStamp Monday Challenge "Summer Garden" that I just had to get into the vibe.

You know me - LOTS of notebooks on my desk and in my pressie stash. It is SO easy just to add a funky pen / pencil and you have a beautiful, homemade present. No need for a lot of wrapping - just a glassine envelope and a bit of twine and you're ready to go - no use hiding all that beautiful stuff.

For this one I used butterfly wrapping paper to cover an ordinary notebook. Added a doily, some die cuts, stamping and scraps from my stash and it's ready to go. Even the title was die cut from glitter foam - nothing shop bought here!!

And a bit closer:

I LOVE to "sign" and date all my projects, This one got it on the back:


And I'm already using my brand new Summer Garden Notebook!!


With one roll of cheap wrapping paper I've covered numerous pressies, made this notebook, a planner page and a travel journal (it's coming in another post) and there's some more left. Here you can see a bit more of the beautiful print on the wrapping paper.


It's  really hard to get good scrapping supplies down under in Sunny SA. If I buy, I normally order online all the way from the USA. SimonSaysStamp is most definitely my FAVE shop and their shipping is the most affordable out there. Believe it or not but most shops don't even want to ship to South Africa!!  Anyway, what I wanted to say is that I tend to spend my money on dies, stamps and ink as they are rather Light and therefor cheap to ship. Then I look around for cheaper paper and art options locally.

So far it's working very, very well for me. If you are short of cash or living down under somewhere - just follow my example and use stuff that's already out there and available. Most of the time it's free!!!

That's it!! I hope you enjoyed my gift wrap Summer Garden Notebook as much as I have.

Have a GREAT week and please check back. I'm working on my VERY FIRST video EVER. It still needs some tweaking but it will hopefully be up before the weekend. You don't want to miss out as I'll show the inside of this travel journal that I've featured in my previous post. Once again, all supplies from my scrap stash and the local office supply shop.


Just scroll down or click here.

Bye, have FUN and thanks for looking at my bloggie.


Wednesday, April 13, 2016

Happy Birthday Card

Good morning Bloglanders

Happy Wednesday to all of you!!  I think I'm having a mild depression .......................... yes,seriously! During 2015 SO many things happened that I went onto auto pilot and now it seems that I just can't snap out of it.

I found that the only thing keeping me from staying in bed the whole day, is if I set myself a challenge and keep to it. It does make me feel better to see that I can still be creative.  Yesterday, my challenge was from the SimonSaysStamp Wednesday Challenge Blog.


I don't make a lot of cards but find that my whole family tends to give gift cards or money and for that we  need pretty cards.What better way to use up scraps, be creative and make something?

I used the Single Roses die from SimonSaysSamp and just piled up my die cuts onto a watercolour background. A bit of black stamping, a sentiment and it's DONE.

Here you can see the dimension on my card.


Of course I made some more of these pretty roses and that will be going towards a Project Life Page. That's on my desk and anti-depressant list for today!!

If you want to see ..................................... check back or join my Instagram feed and you'll be the first to see.

In the meantime, have fun and remember to try something new - TODAY!! I'll be back to show my efforts right here on Play as U GO.


Thursday, November 5, 2015

Hearty Solar Jar

Happy Thursday Bloglanders

Today I'm sharing my "Hearty Solar Jar":


I've decided to join  this fun challenge:


This week we are focusing on family and friends. I bought a solar jar as a gift and filled it with 50 acrylic hearts to celebrate my best friend's 50th birthday. From now on, every year, I'll add another heart to the collection. To zuss up the gift I added a bow,  tag and die cut. As for my friend, every time she uses the Solar Jar, she will be reminded of how much I love her.

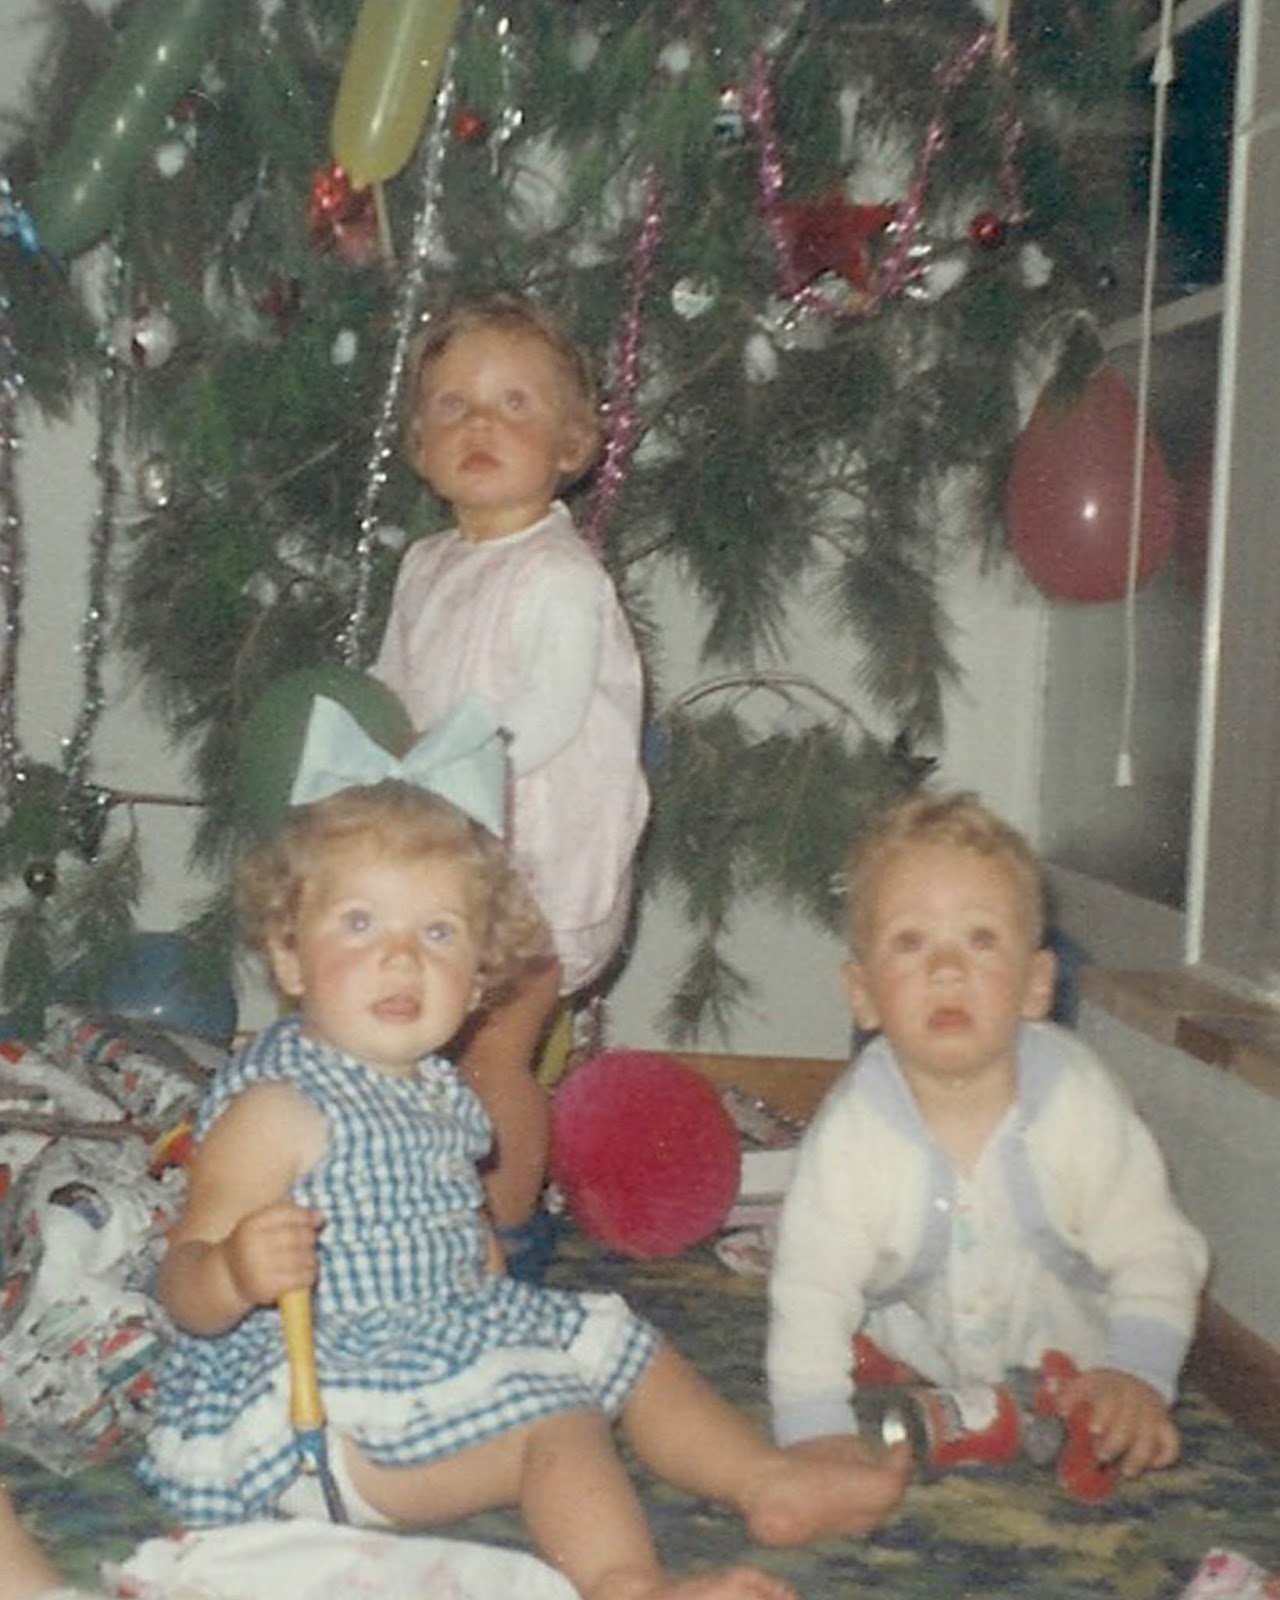
The idea behind my gift is that I've known my friend for 50 years. YES, we were born 4 months apart on adjacent farms in a rural area of Sunny SA.  We grew up playing together 24/7. My sister is 10 years younger than I am and I always joke that I've known Anel for longer than my sibling and therefor we are MUCH closer. Wanna see what we looked like many, many moons ago?


Sorry about the quality of the picture but the photo is 49 years old and stored under not-so-good conditions. I'm the one standing and she is sitting in front. It was taken December 1965.

And another pic:


About 7 years old and this time I'm sitting. Just look at my floral skirt!!! My mum used to make all my clothes. (hers did as well) I would love to know what I did with that skirt on a farm!!!

Let's get back to my Hearty Jar. Here you can get a better idea of the acrylic hearts and the solar jar:

Remember my previous solar jar posts? Hop over and visit them!! 


And a close-up of the tag:

I'll be seeing my oldest friend over the weekend. My Hearty Solar Jar is packed and ready to be delivered. Thanks for looking at my blog. Have a GREAT day and please check back as I'll be sharing the mini book I made for her as well. Of course I made one for myself but that's a story for another day.


Sunday, August 16, 2015

Caravan Party Favors

Happy Sunday Bloglanders

I hope you had a wonderful weekend!! Today I'm back with "my take" on PaperCrafter'sCorner Magazine Monday Week 112. - 3D Caravan Party Favors for my Camping Friends:


And my inspiration?


Remember, it's winter down under in Sunny SA!!! I just couldn't get myself to the ice cream truck but camping always lifts my spirit SO - I decided to do a caravan in ice cream colours. It's 3D and I used the little camping caravan box as party favours for my camping buddies.

Inside is a tea cloth. Wherever you are out of doors, there are bugs.  Something clean and white to keep them off  your food.  I've been planning this project for YEARS and just got around to it this week thanks to Magazine Monday's Challenge. 

I've used this die cut before but can't remember if I've shared it before. Doesn't matter - I've got it on file and proud to show you again. This one was a 3D interactive birthday card for a Camper friend.

Left pic shows the pink note card, a green mini envelope and the 3D box. Middle is a view from the top showing all the envelopes and cards. Right: Ready for delivery.

Our friend needed new cutlery for her caravan. We decided to gift her with money but didn't want to make it a competition of how much each of us could afford. Therefore, each of us used an envelope for our money and a separate card for the birthday wishes.   It all fitted into the caravan box. I just added a flag with our friend's name to make it even more festive.

And some of the die cut caravans even hopped onto my Planner:
I just love to add leftovers to my Planner. The dear head is the negative of one I've used on a Project Life Page. I just filled the negative space with black cardstock, used some washi to cover my scribbles and it was done.

And another peek at my Caravan Party Favors:

Now I just have to wait for our next camping trip to hand out my Favors. In the meantime I'll be crafting my week away - just come back to play and all will be revealed or follow me on Instagram to see it sooner.  

Thanks for looking at my blog today. Have a happy week and remember to try something new - TODAY!!


Wednesday, July 29, 2015

Got 20 Minutes

Hi there Bloglanders

I hope you are well. Winter finally arrived down under in Sunny SA but don't fear - we don't get snow in Stellenbosch. Our winters are more like European summers!! So, I stay inside where we have a real wood fire going all the time and CRAFT, try out wonderful new recipes and sew.

Yesterday I told you that I read a whole lot of inspirational posts. In keeping with my summer fruit theme, I took up the Paper Crafter's Corner challenge "Got 20 Minutes".

And my project:


8 Fruit themed cards!

Sometimes your schedule is way too busy - you just can't start on a new project BUT with 20 minutes to kill, you can make a HUGE difference to your pressie stash and your gift wrapping station.

I cut all my scraps in sizes of 6x6, 6x4 and 3x4 - the smaller pieces go towards die cuts. And this is how I keep them on my craft trolley:


In a plastic container - leftover cardstock, project life cards and even some multi media pages. When I start on a new project, this is the first place I go to.  No exception with my 20 minute card project.

Second stop is my die cut box:


Whenever I cut and print with my Silhouette and there is some space left on the page, I add a die cut shape for my "jewellery box".

With only 3 minutes used gathering stuff, I used the rest of the 20 minutes to glue everything together.

I even had time to add twine to two pineapple tags for my gift.


I wrapped half of my cards to give away as a birthday gift to a special friend. The rest went into my gift wrapping stash.

And here is my pressie - ready for delivery:


The card on top says "Geluk" (= Congratulations). I don't even have to add and additional tag to say "Happy Birthday" to my friend.

Here you can see the two pineapple tags that I added to the back of the Cellophane pocket.


I'm most definitely going to do another "Got 20 Minutes" challenge. Next one up will be a Project Life mini book. If you missed out on that one, read all about it here. To make this challenge even harder, I plan to take pictures as I go - YES!!! to show you exactly what I did - all in 20 Minutes!

That's it. I'm off to get my hands on another 20 minutes.  Thanks for looking at my blog today. Have a Wacky Wednesday and please come back to play.

Wednesday, July 22, 2015

Get into shapes with Fruity Tags

Hello Bloglanders

I hope you are having a Wacky Wednesday!! Yesterday was COLD down under in Sunny SA so I crafted the day away in my sunny living room. To heat things up, I made fruity tags for all the upcoming birthday pressies.


I'm not a big "cardie" but I love beautifully wrapped pressies and normally, I'll add a mini card (and envelope), a die cut name and / sentiment and a die cut shape.  Here you can see one that I've added to a jar of homemade rusks:


I love the "print and cut" feature from my Silhouette and whenever I have some space open on a project, I'll add something for my "jewelry box". YES, I'm not big on diamonds and gold but I LOVE this box of die cuts that sits next to my Silhouette.


And some more fruity shapes:


And what inspired this fruit salad? The SimonSaysStamp Wednesday challenge - Get in shape.  NO!! nothing to do with weight, it's the shape of your card (in my instance - tag) that matters!!

And my pressie is ready for delivery:


That's it!! Another project done. Today I have some sewing on my agenda - AND the office - of course!! I'll be back to share my latest sewing project with your right here on Play as U Go. Thanks for looking at my blog today, please come back to play as  I would love to have you.


Wednesday, April 8, 2015

Not just Evelopes

Happy Wednesday Bloglanders

I LOVE beautiful envelopes!! If you make your own cards, sending them off in ordinary, white envelope is like wearing a beautiful evening dress with flip flops. Let us start with the ones I made for my sister's kids:


And the back:


A bit of matching Washi and we are ready to go. All the boys are big rugby fans so I incorporated it in making the envelopes with Silhouette's "print and cut" function. No need for name tags - the jerseys says it all! Inside the envelopes I've got money, a small gift (shoe laces) and a card. Don't fear if you don't have a silhouette, I've used a coin envelope as a template (much less paper) and of course - I customized the size to fit my pressie.

But not only did the boys get beautiful Birthday envelopes, My dad got one as well.


All my fellow Creative Memories lovers from years gone by might recognize the paper. I've allocated ALL my unused paper to my "envelope" stash so you'll be seeing a lot more of them around here. For this one I didn't even use my Silhouette - trace the template and cut - decorate and you're done.

Last but not least. A 80th birthday card for my mum's "sew loving" friend:


For those of you who haven't noticed - I joined the Instagram gang. Find me here. It's FUN, FUN, FUN and I'm having a ball figuring out the new technology.

That's it. Enjoy the rest of your Wacky Wednesday and next time you need an envelope - go to that unused paper stash and make one yourself.

Thanks for visiting my blog.


PS. I'm submitting my envelopes to the SimonSaysStamp Wednesday Birthday challenge. Hop over there to see what the rest of Blogland did.

Tuesday, March 17, 2015

Things That Fly

Hello Bloglanders

I just wanted to show the two cards that I'm mailing off this week.  They are bigger than 6x4 and I'll be making custom envelopes for them with my Silhouette. To tell you the truth, I've been making lots of envelopes - not only a pretty card but a bright and preppy envelope is just the thing at HQ Hamman.

More about my envelopes later this week. First my cards:
I've used scraps of paper to stamp, colour, die cut and print and even recycled the grass from my sushi platter.  My inspiration for the cards came from the SimonSaysStamp Wednesday Challenge -

THINGS THAT FLY

I think I've nailed it with 2 birds and 4 butterflies!

That's it! Some scraps recycled, a challenge done and 2 cards to cheer up some one's day.

Thanks for looking at my blog. Have a great day and please come back to play.


Wednesday, February 4, 2015

December Daily Album

Happy Wednesday to you all!!

As Promised, my December Daily Album:


I've used an idea, printables and a die cut from Wilna Furstenber's Heartfelt Christmas Workshop. Before we left on holiday, I bought the course and whenever we had to wait on an airport or had some free time, I digged in and enjoyed some GREAT creativity.

I didn't have gold spray paint so I used acrylic. The effect is beautiful - the grainy texture of the old file comes through and the cream die cut is to die for! One of my new year's resolutions is try my hand at more page backgrounds and this one is first on my "to do" list. Just look at the little Christmas tree on the bottom right of the file - love it.

I must admit, I was a bit scared by the intricate design but my Silhouette did a wonderful job. As I said, I'm doing this one again!

That's it from me. I'm off to get some office admin done. Have a great day and remember to try something new ........................ and thanks for looking at my blog!


Wednesday, January 28, 2015

2014 Personal Planner sorted

Hello Bloglanders

I hope you are having a Wonderful Wednesday!! I didn't make a typo - I did sort out my 2014 planner this week.  My system works like this:  I use the cheapest A6 refill available. It fits into a "binder" (no brand, no name!) that I've had for more than 20 years!!! Yes, I got it from my very first boss and it still works perfectly. I like to have a page a day - enough to get everything in but still not too big for my bag.

End November I normally buy the refill and then put it in binder rings until the old one comes out on 1 January, gets decorated covers and is filed away in my "diary basket". I keep the basket on a shelf in my living room because I do check back.

And meet my 2014 decorate planner:


I started out with an idea from one of Wilna Furstenberg's art classes but mine turned out so differently that I don't even think she would want to be credited. Anyway, thanks Wilna for the inspiration! 

And the family:

Here you can see the past 3:

And while everything was out, I decided to decorate this year's planner a wee bit:


I normally don't do this but the Monday Challenge on the SimonSaysStamps is "Up in the Clouds" and I just didn't want to miss out on the fun.  So, I  decorated my page with die cut clouds (up in the clouds), houses, stickers, paper and washi . It was FUN!! 

As you can see on the right, I still use the menu planner from Monika Wright. Perfect size and more than enough space to do my planning. Hop over and download your own, free copy.

That's it, I've got lots more to do and will be back to share my crafting fun right here on Play as U GO. Thanks for looking at my blog today. Have a great day and remember to try something new.